 |
| An easy project suitable for any space |
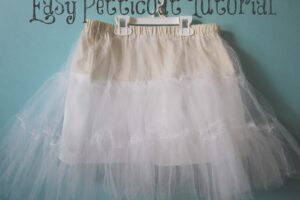
I originally made this fabric garland to use with my handmade business display, but I will definitely be making more for different spaces and occasions. I’m already envisioning a Halloween one and one for Isabelle’s room. This is a great DIY because there really is no wrong way of doing it and you can easily customize it to fit the look you want. This is also an excellent fabric stash buster because you can use any leftover fabric you have laying around. Coincidentally, the knot used here is the exact same knot I use to make tutus which means this tutorial could easily translate to making tulle tutus or fabric rag tutus. Both of which are extremely easy to make and the only real difference is that you would use elastic or ribbon instead of string for the waistband.
 |
| Step-by-step picture instructions |
Things you’ll need:
- Fabric – You can mix and match fabrics to get the look you want. I used 6 different cotton fabrics in solids and prints. I laid out my fabrics in the order I wanted to repeat, but you can do it randomly too.
- Twine – I liked the strength of this, but you can always use any kind of string.
- Scissors
Step 1: Cut your fabric into strips. Decide on the length you want, multiply that by 2, and add 2 (to account for the knot). The formula for this is: (Hang length x 2) + 2 = Strip Length. For example, I wanted my strips to hang roughly 5.5 inches from the string. Putting that into the formula, I get (5.5 x 2) + 2 = 13 inches for the Strip Length. Keep in mind that the lengths don’t have to be perfect. I kept my cuts varied because I liked that it didn’t look perfect.
Step 2: Determine how long you want your string to be and cut it. Remember to account for the ends and if you want to have extra at the ends to help hang it.
Step 3: With the above picture for guidance, you’ll want to knot each of your strips onto your string. Basically, you’ll fold the strip in half forming a loop at the halfway point, lay the string on top, fold the loop over the string, then pull the ends through the loop to make a knot. You can always tie it other ways, but I liked how easy this was to do. Keeping adding the strips until you read the length you want.
 |
| Another view of my fabric garland |
As a side note, my garland has held up very well. I was caught in some heavy rain at an outdoor event and the rain drenched my garland, but I just hung it up to dry and it looked good as new.
Have you made your own garland? I’d love to see it! Have any questions? Let me know in the comments.


Leave a Reply
Your email is safe with us.